Provided is a step by step walkthrough on how to use Mappler Mobile to add data:
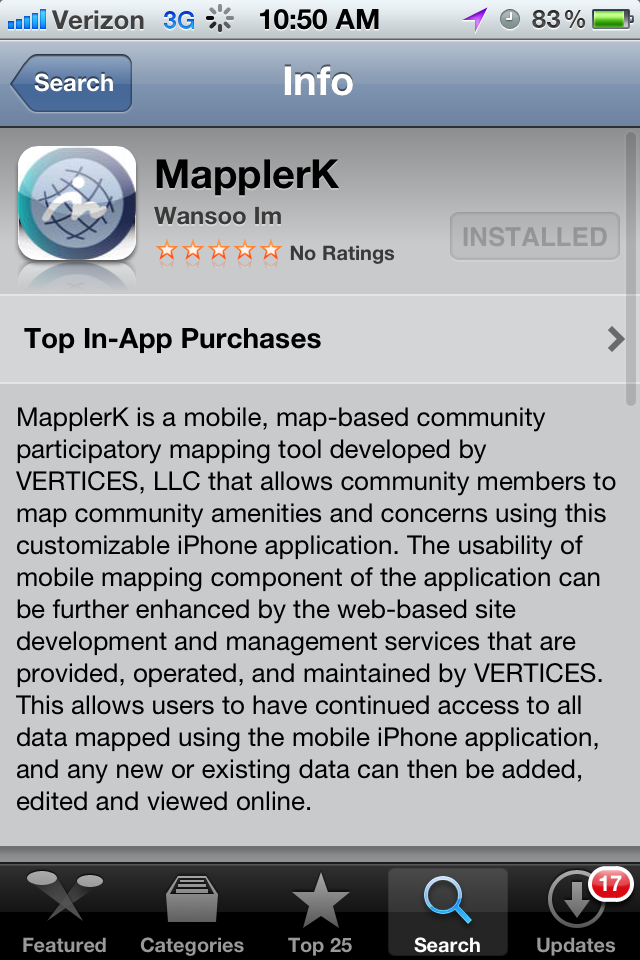
1. Download the MapplerK app for Android or iPhone
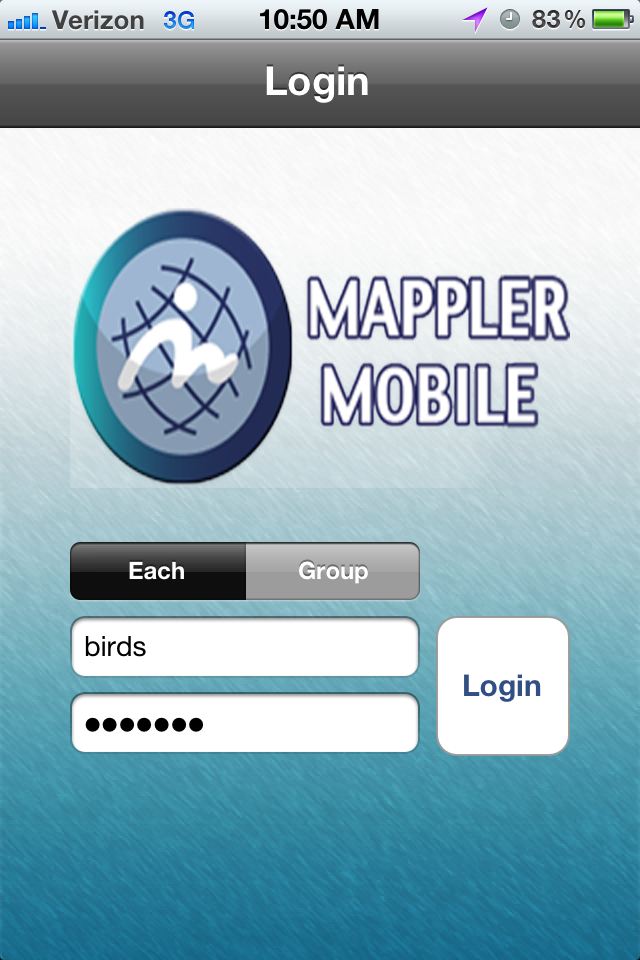
2. Log into MapplerK. For this website the Username is birds and the Password is mappler. Make sure that each is selected.
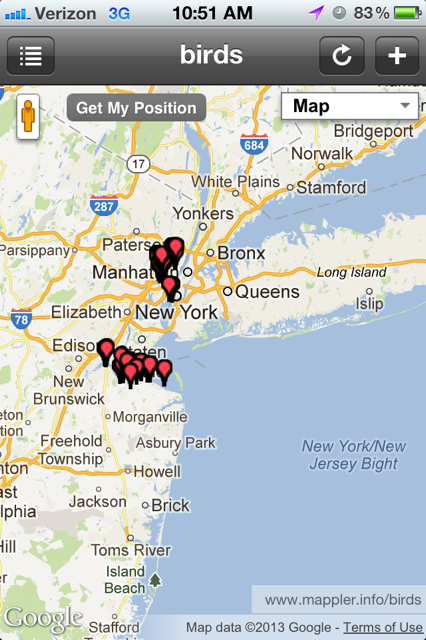
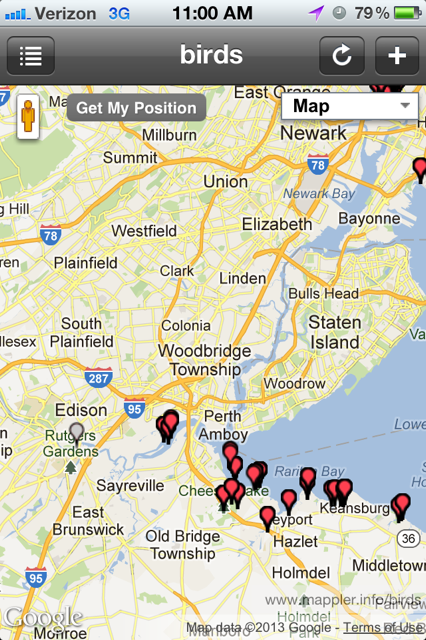
3. Once logged in, you will see the current map.
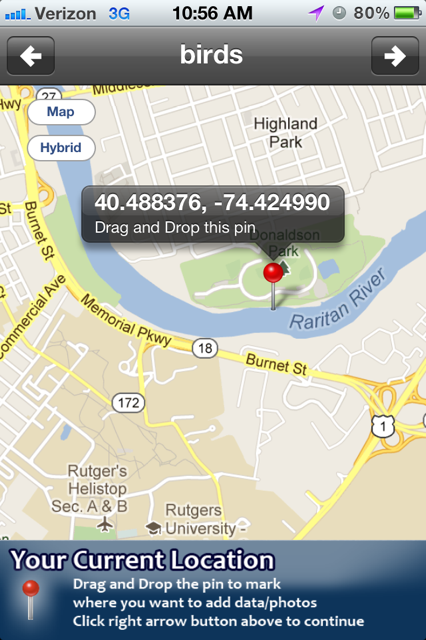
4 To add a point, click the + button in the top right hand corner. It will then find your location. You can move the pin to the location you spotted the egret (Make sure to hold down on the pin and then you will be able to drag it).
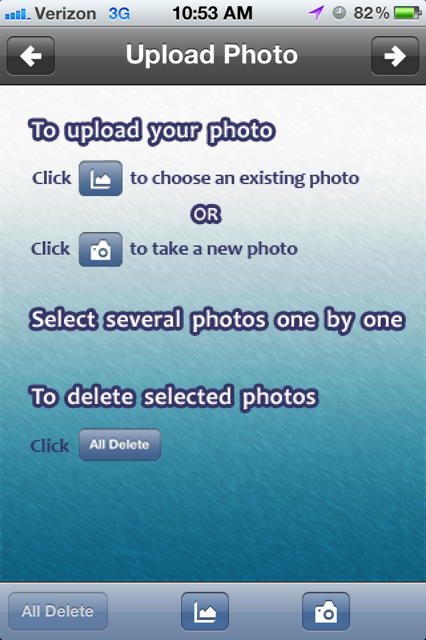
5. Hit the arrow in the top right hand corner to continue. It will take you to a page to add an image. The image can be added either from your library or you can take a photo (you may skip this step).
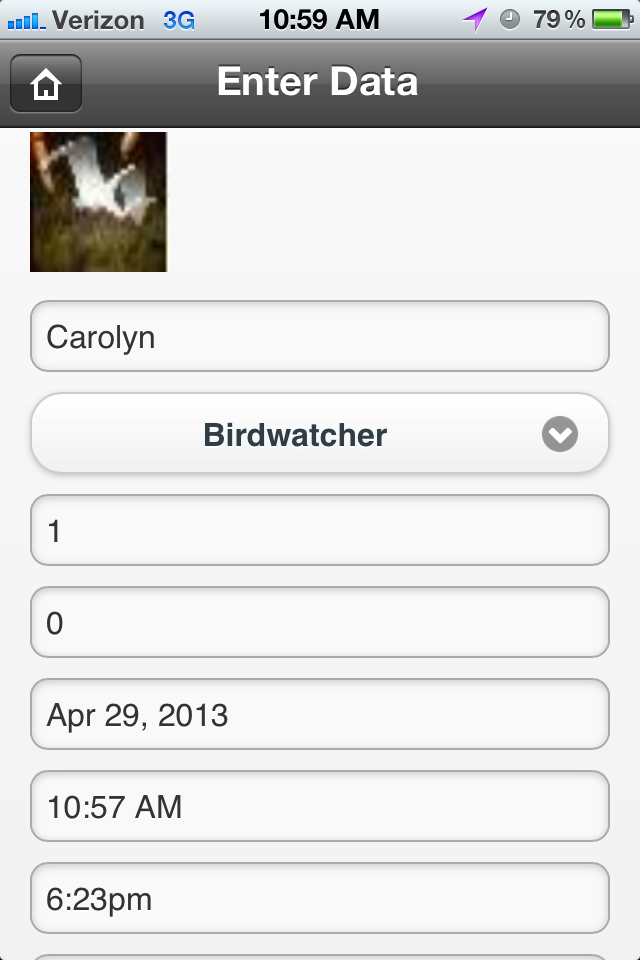
6. Once your image is added click the upper right hand arrow once more. This will take you to the form to fill in the data. The form will prompt you as to what should be in each category (i.e. it will specify which field is for time, temperature, date, etc.)
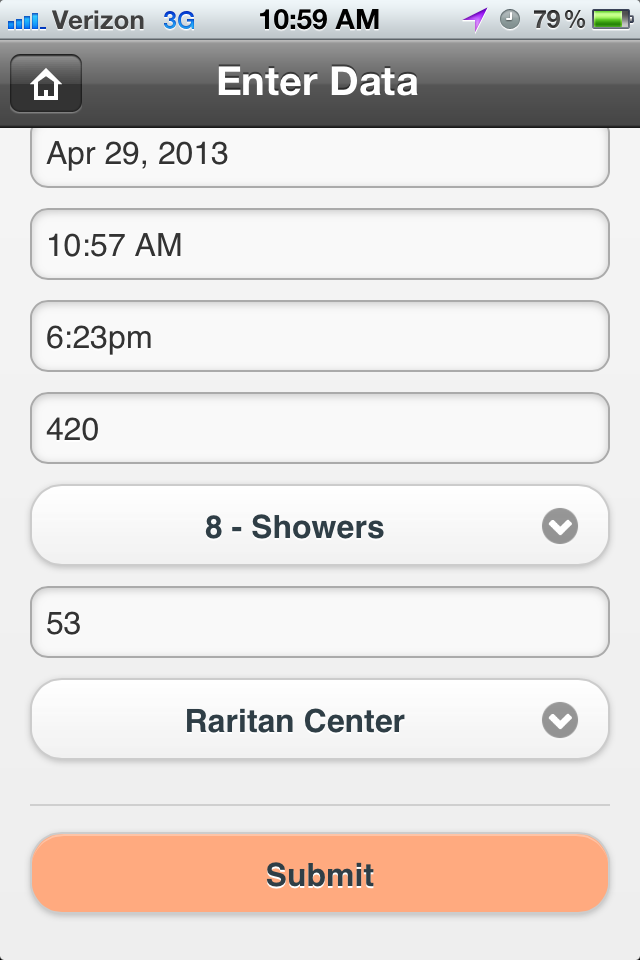
7. Once all the data is added, hit submit. You will see a confirmation page that acknowledges that your data is now on the map.

8. when looking at the map, you can now see your point instantly. For this example the added point is grey.
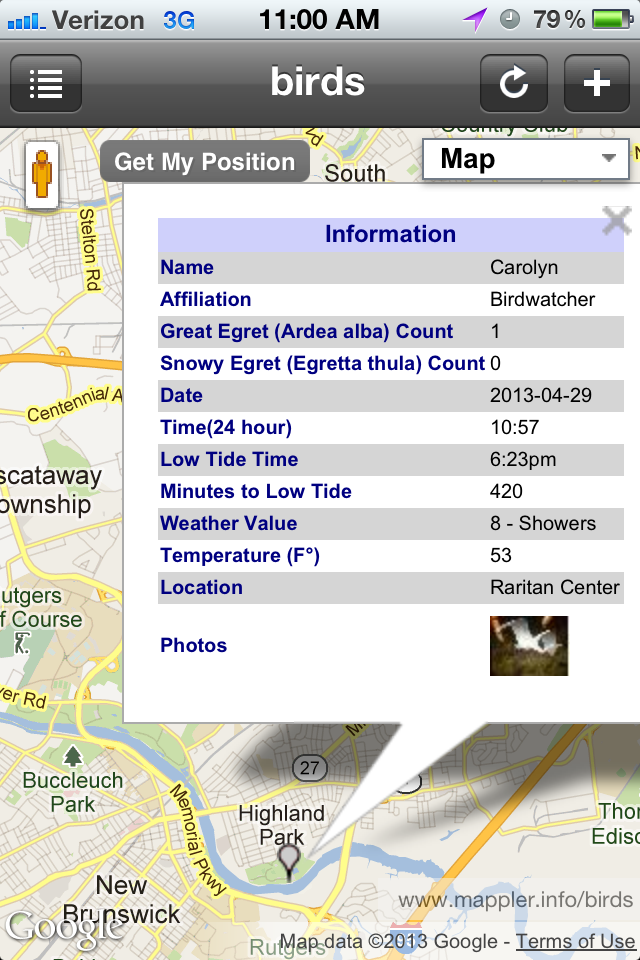
9. When you click on the point you will see that all the information you added is there.
10. Not only is the Mappler Mobile site updated, but all online interfaces are also updated in order to ensure that the information is as up-to-date and accurate as possible.